Choosing the Right Solution & Measuring Your Equipment
Choosing the right stand, mounting solution or piece of studio furniture depends on more than the outside dimensions of your equipment.
The position of screens, controls, feet, ventilation slots and cable connections can all affect which design will work best. Your available desk space, viewing angle and normal working position matter too.
This guide will help you choose the most suitable type of Studio Solutions product, check your available space and take accurate measurements for a custom design.
Jump to content:
What type of solution do you need?
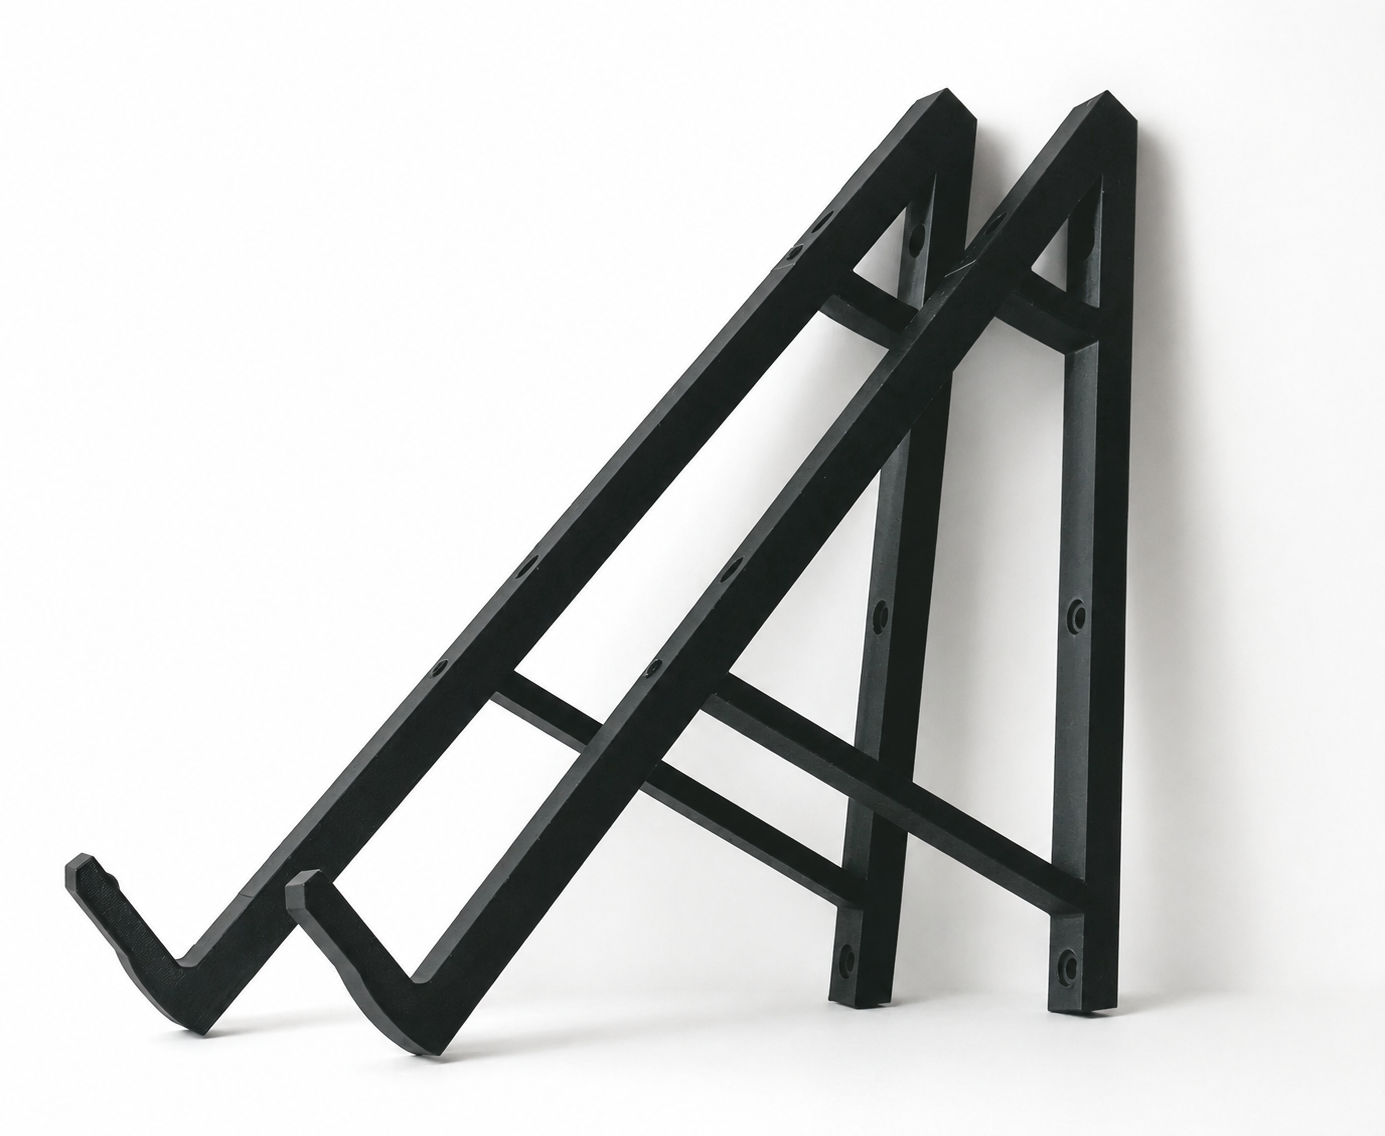
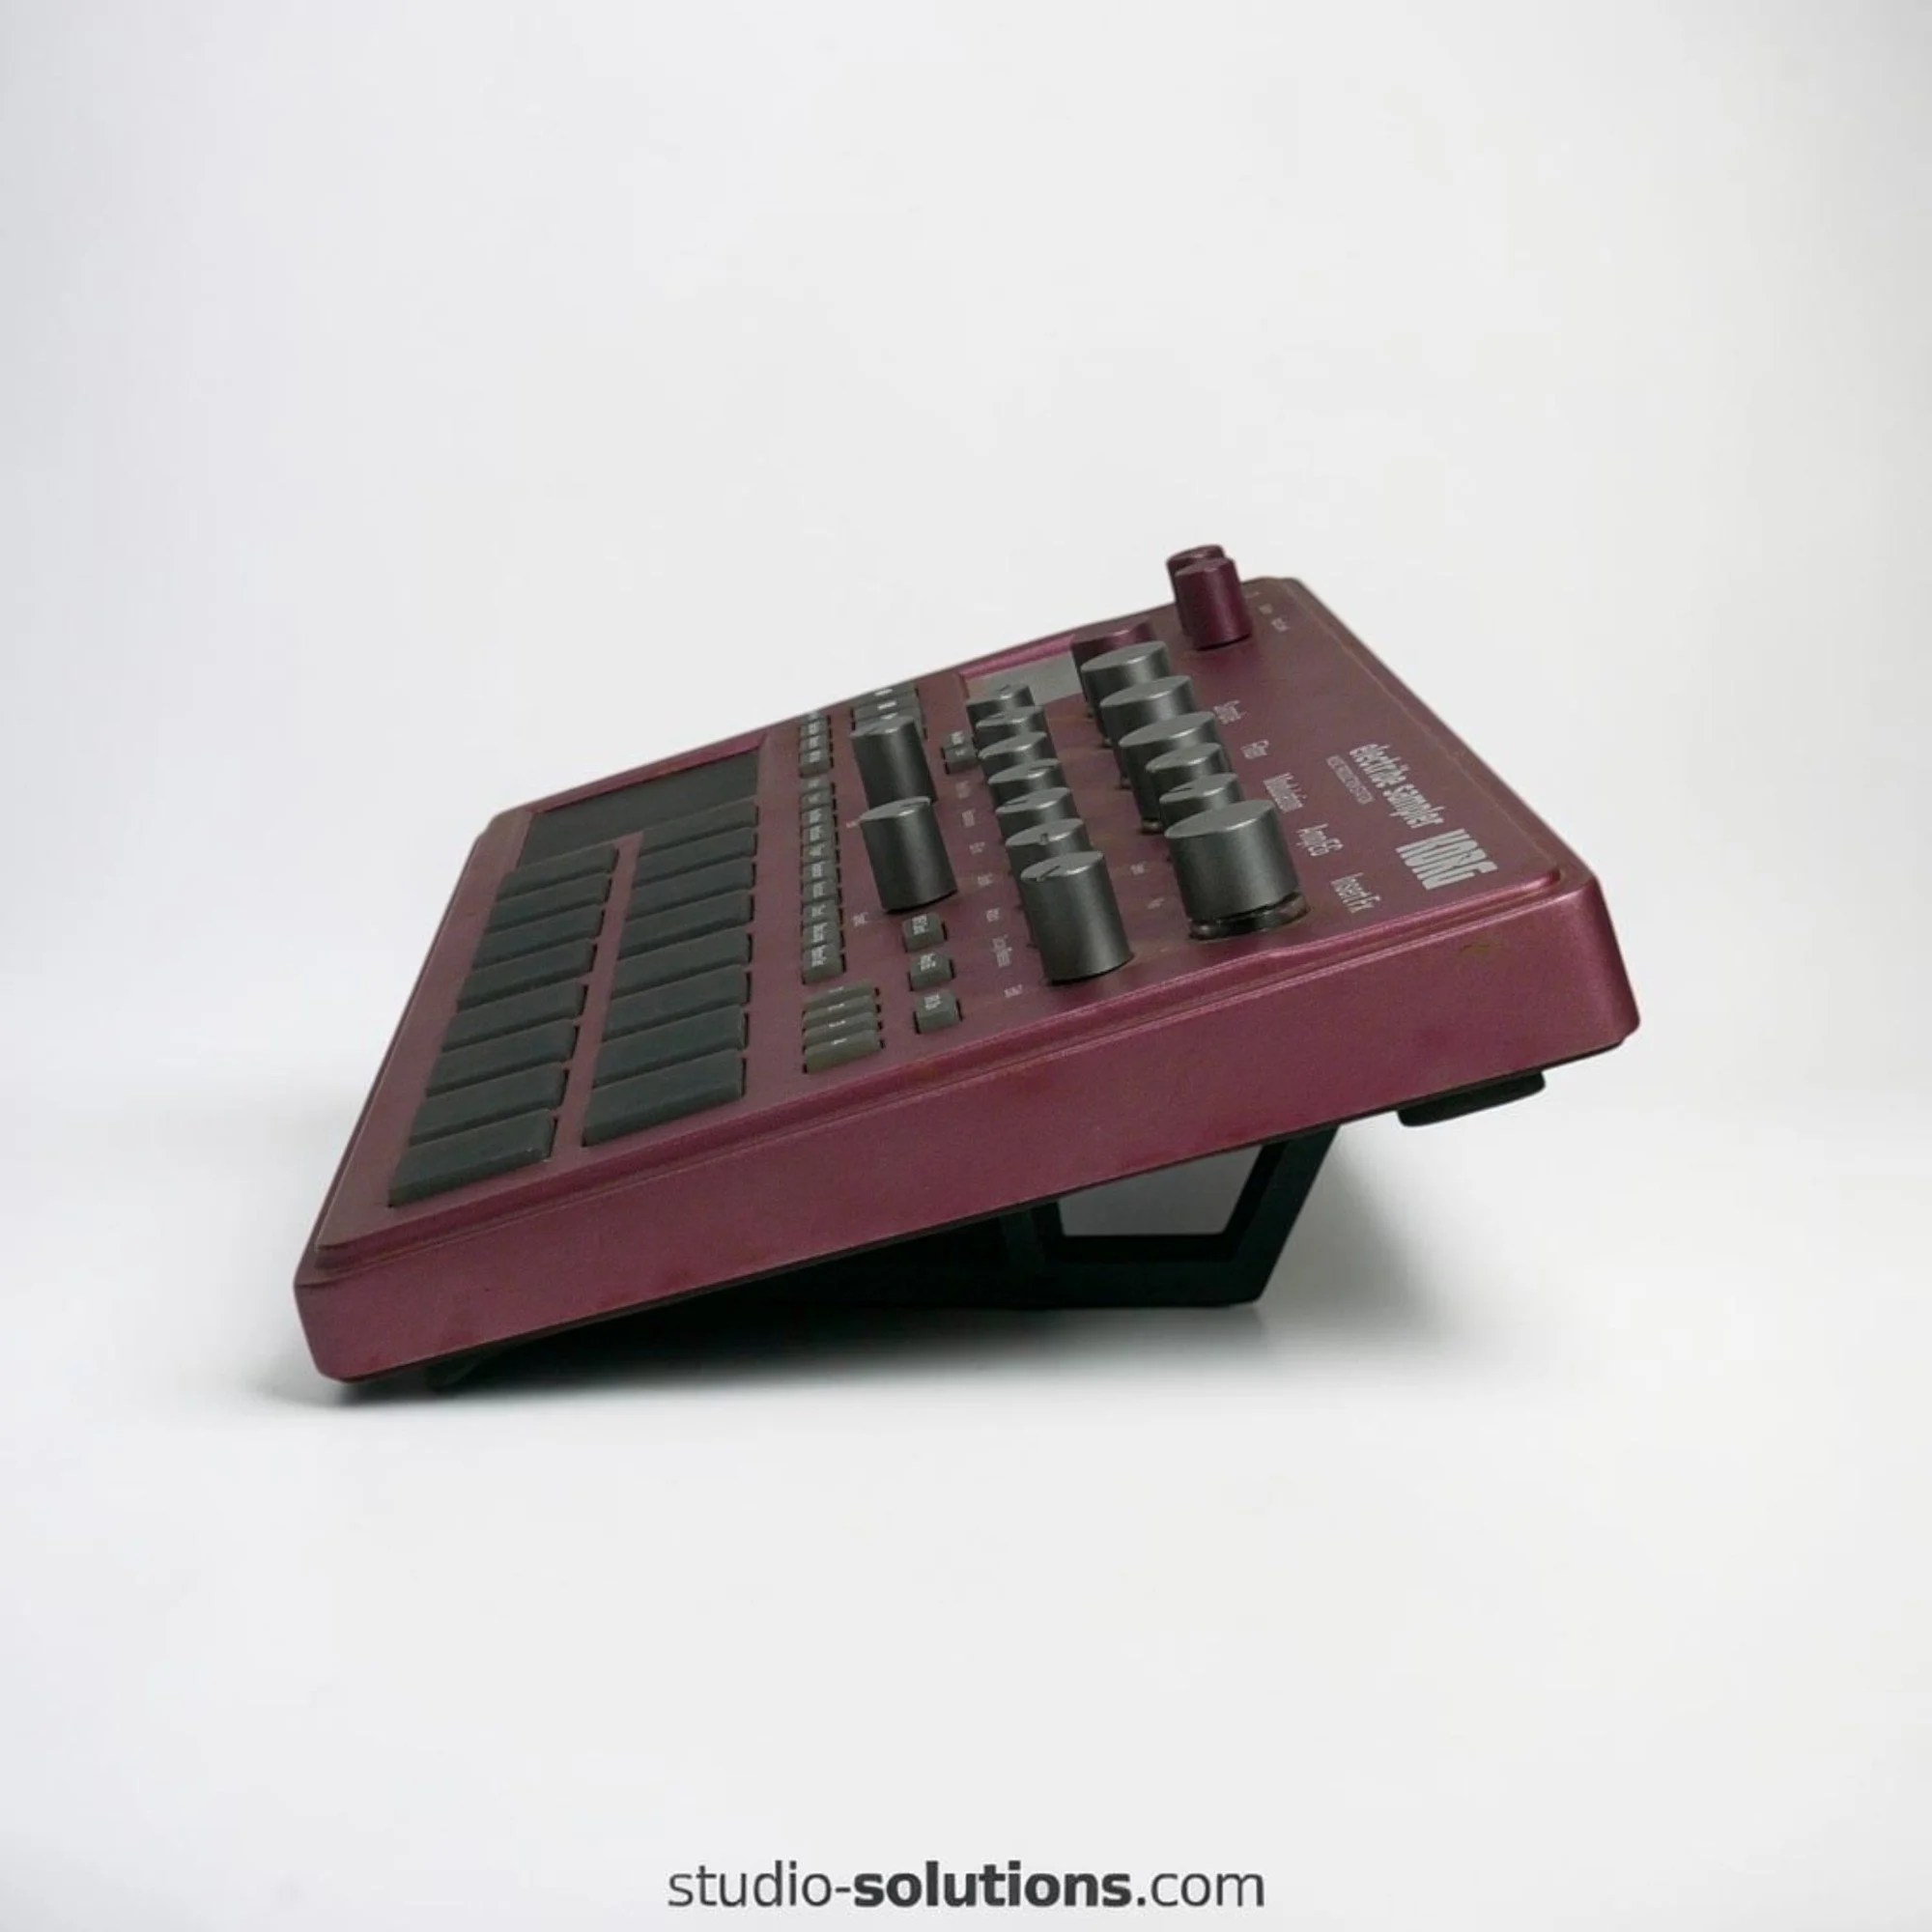
Desktop stands
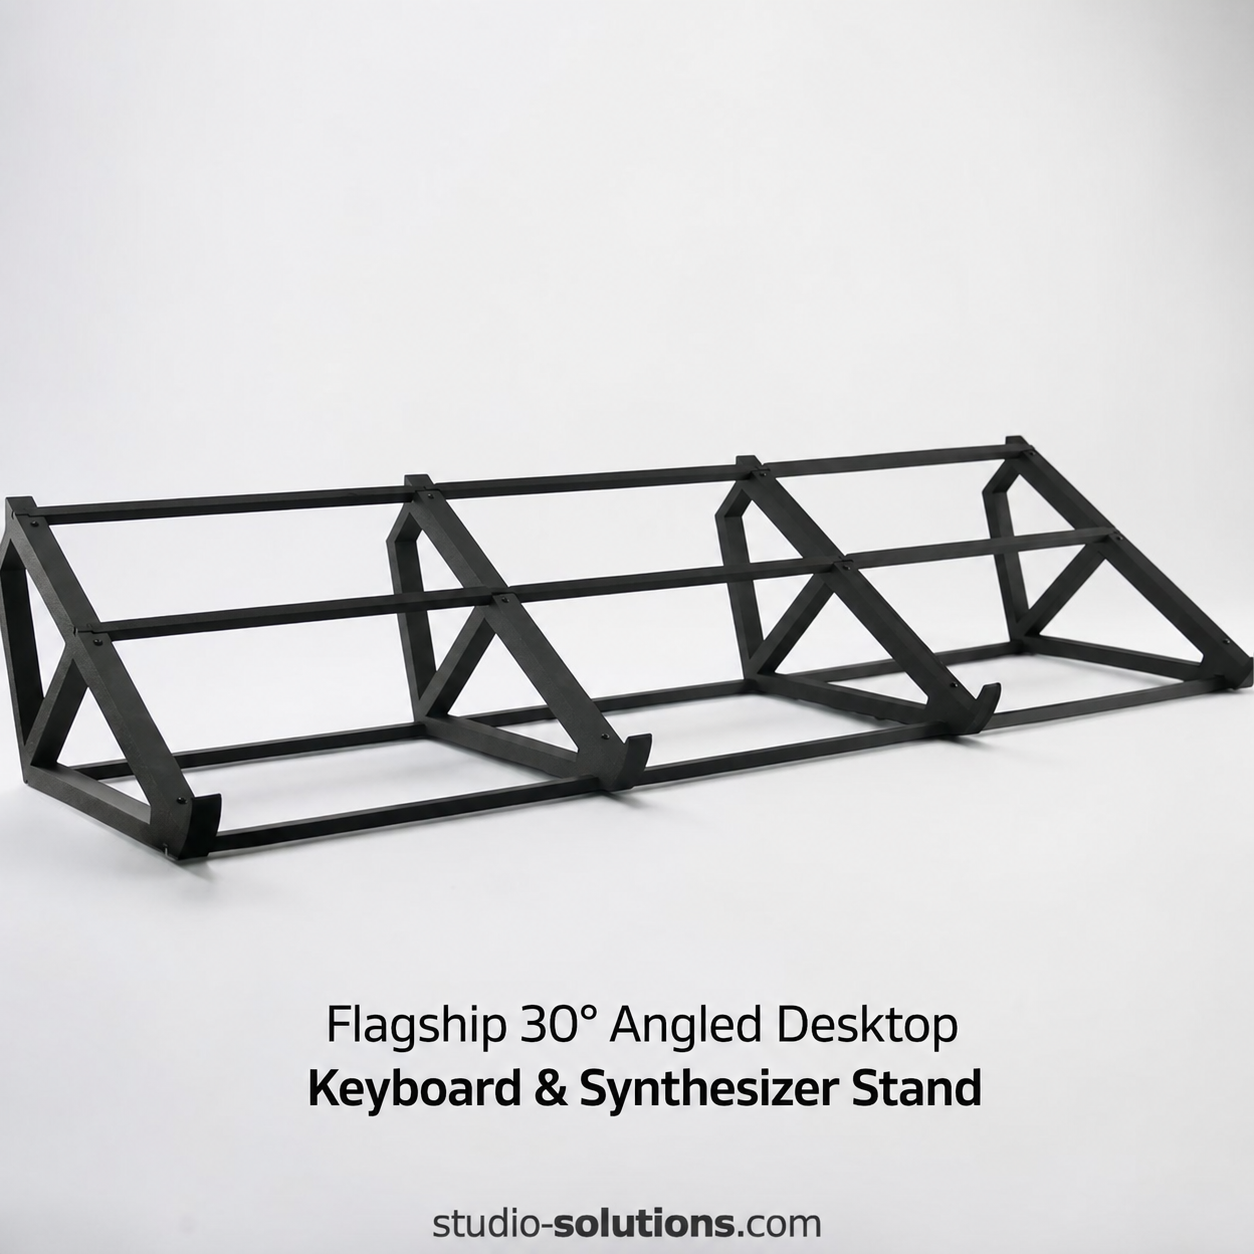
A desktop stand raises and angles a synthesizer, drum machine, controller or other piece of equipment to improve visibility and access.
Desktop stands are particularly useful when equipment sits behind a keyboard, mixer or another device. They can also help reduce wasted desk space by allowing smaller equipment to sit above cables or other low-profile items.
Many of our desktop stands are designed specifically around a particular make and model. Others are suitable for several pieces of equipment with similar dimensions.
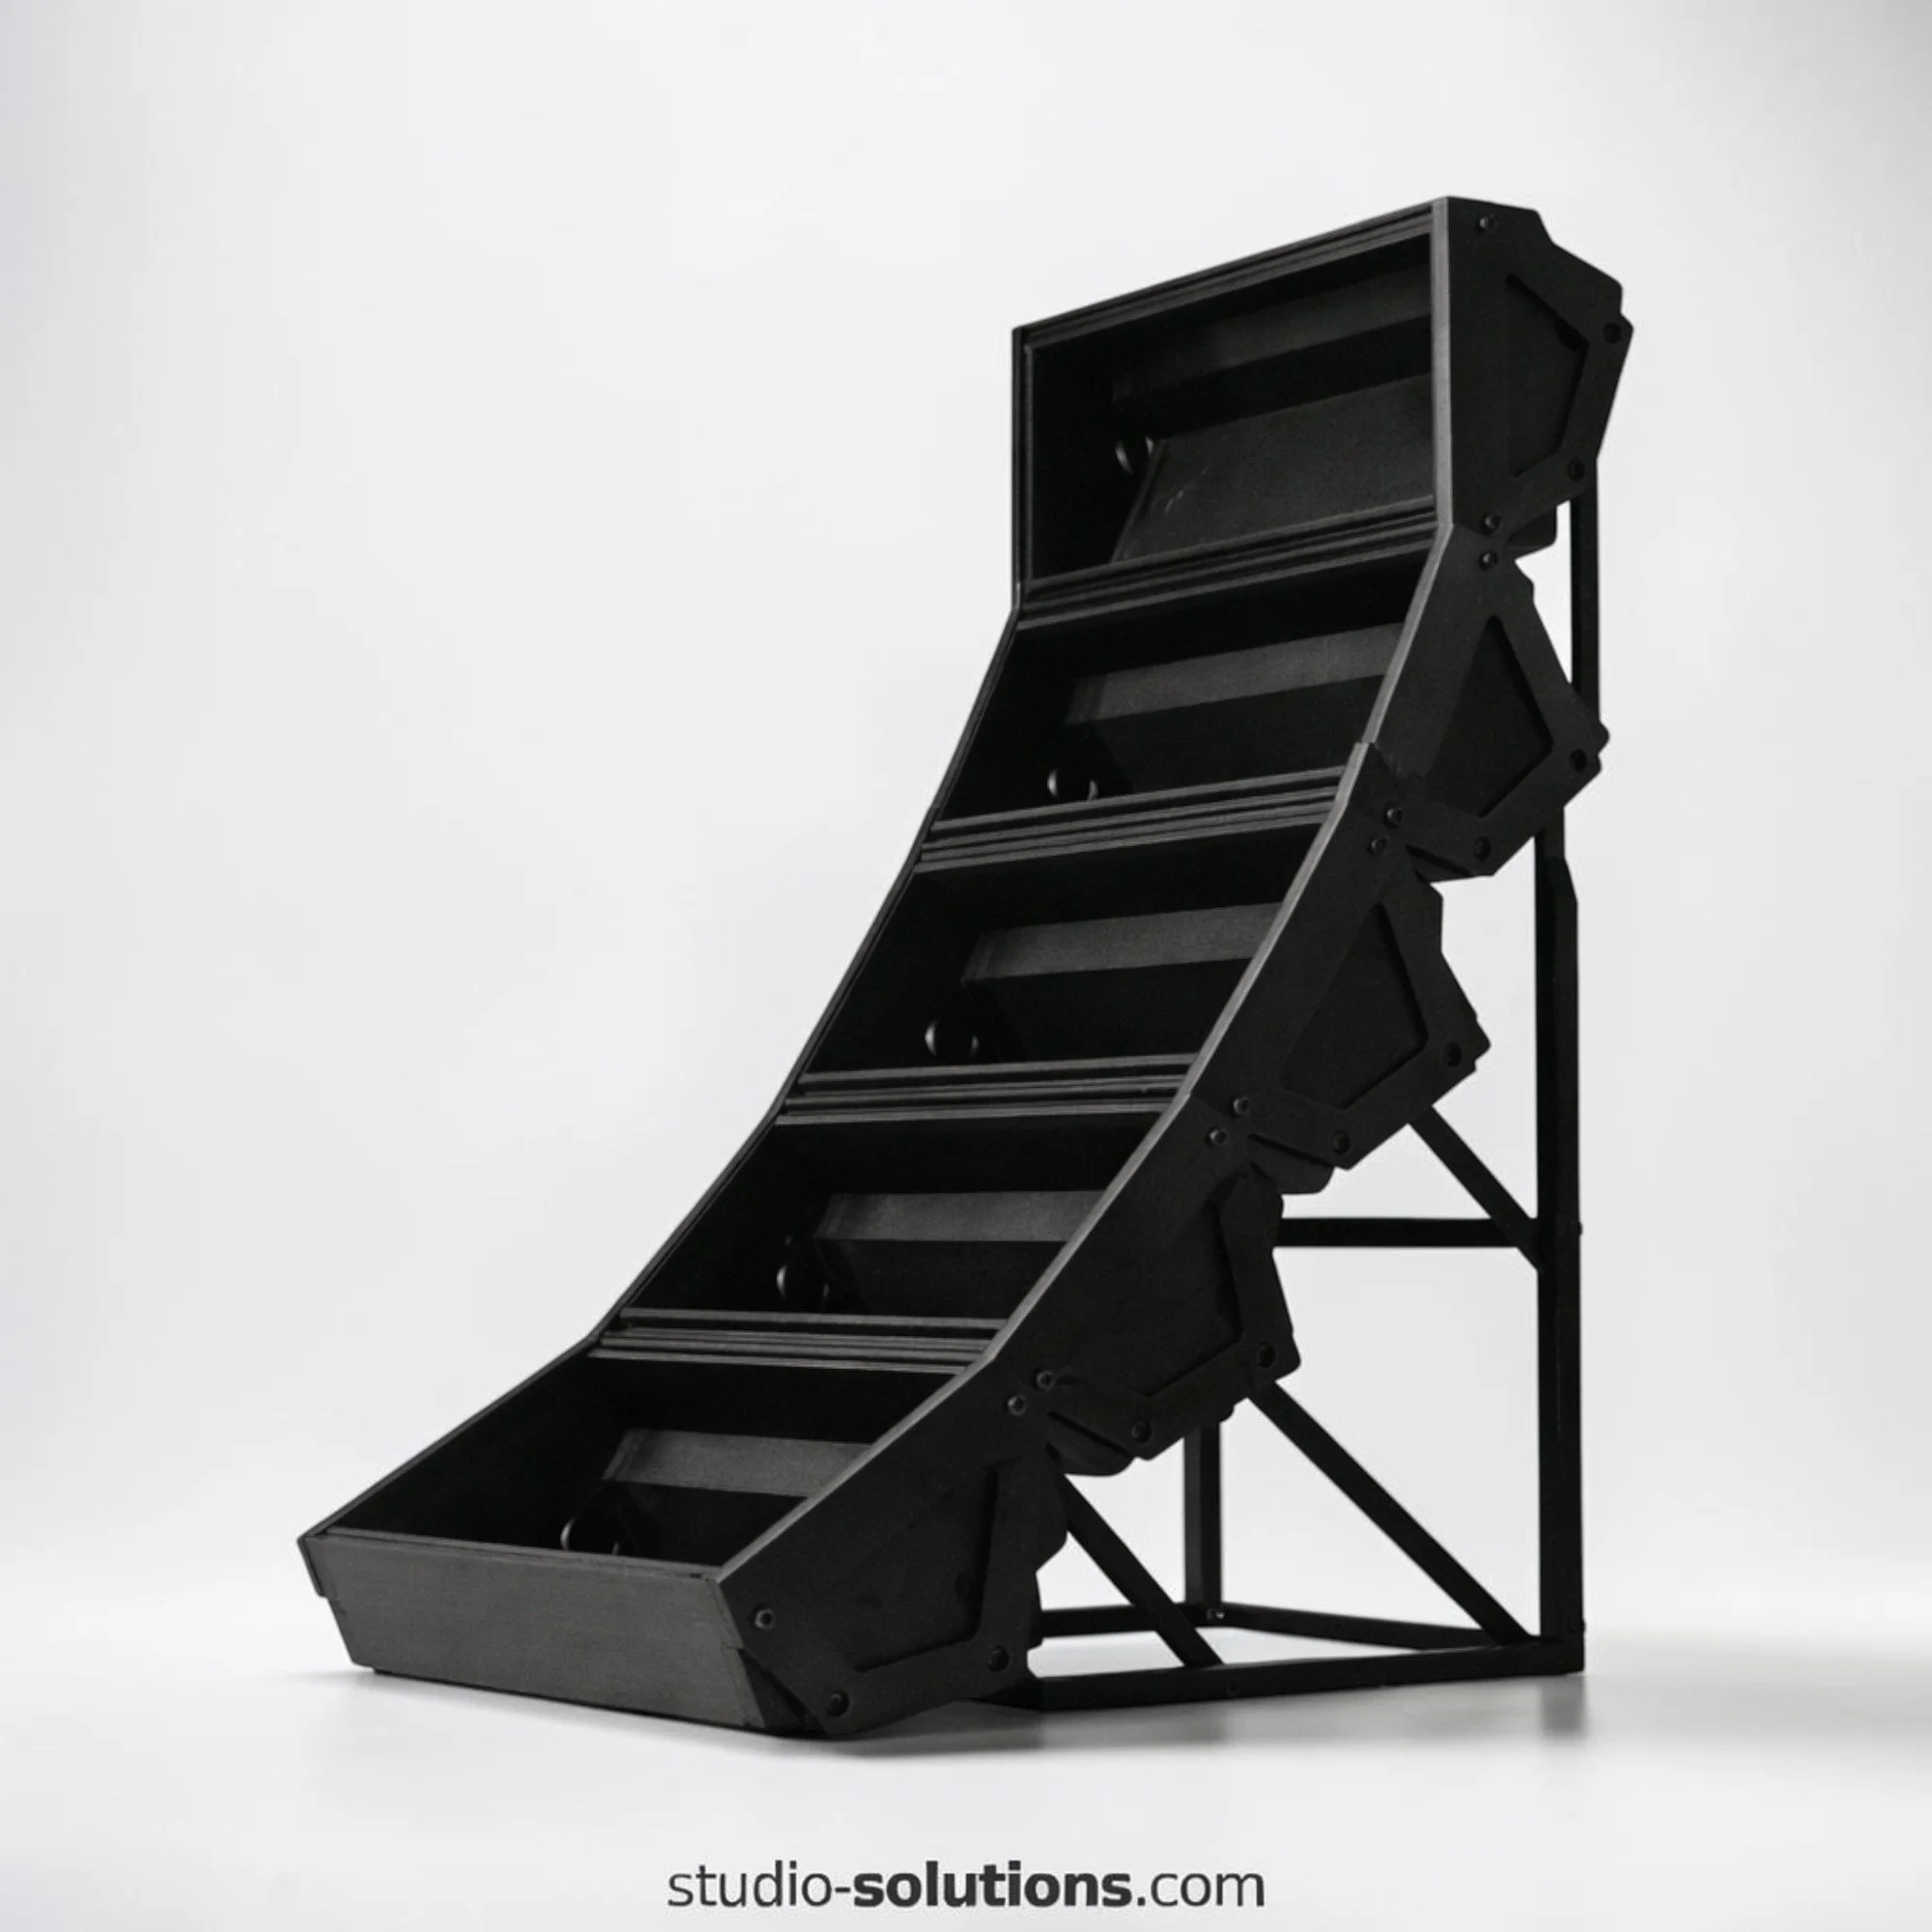
Tiered stands
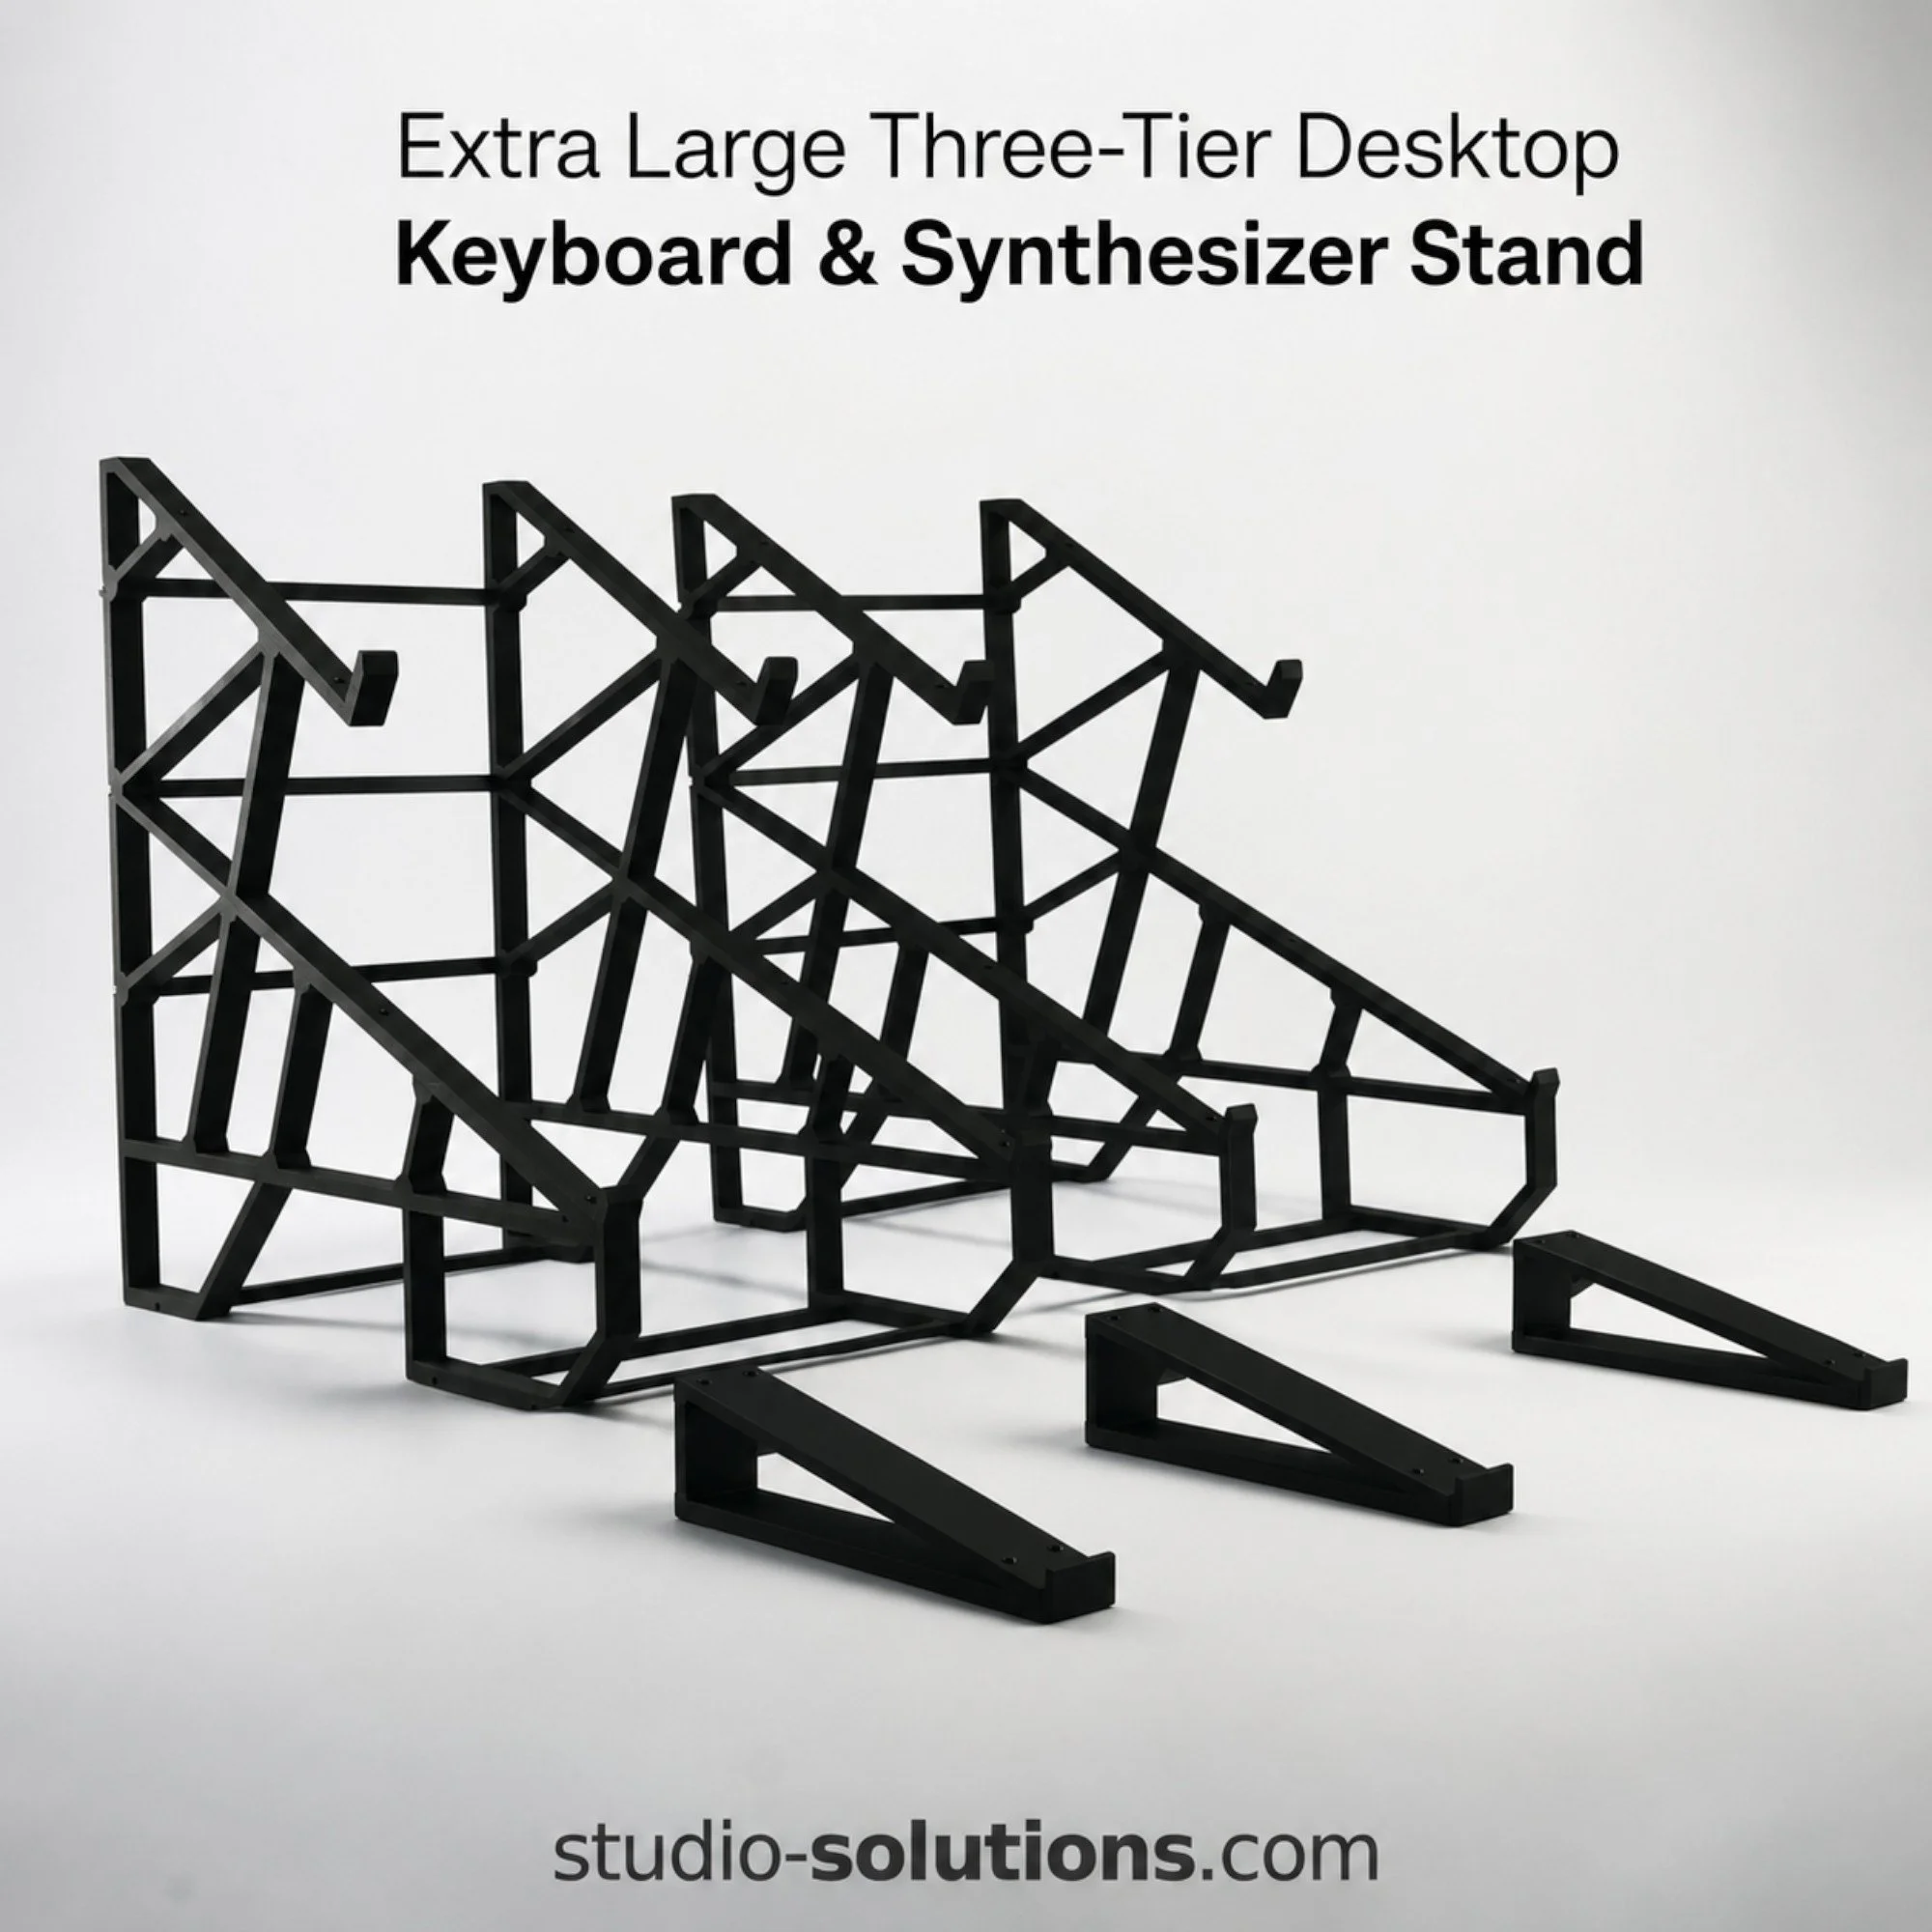
Tiered stands organise two or more devices vertically while keeping their screens and controls accessible.
They are ideal for compact electronic music setups, including combinations of synthesizers, drum machines, samplers, sequencers and effects units.
When choosing a tiered stand, consider:
The depth of each device
The position of the controls
The height required between tiers
Rear cable clearance
Whether every device needs to be played regularly
Whether screens remain visible while seated
A taller or steeper setup is not automatically better. The most useful arrangement is the one that keeps your equipment visible, stable and comfortably within reach.
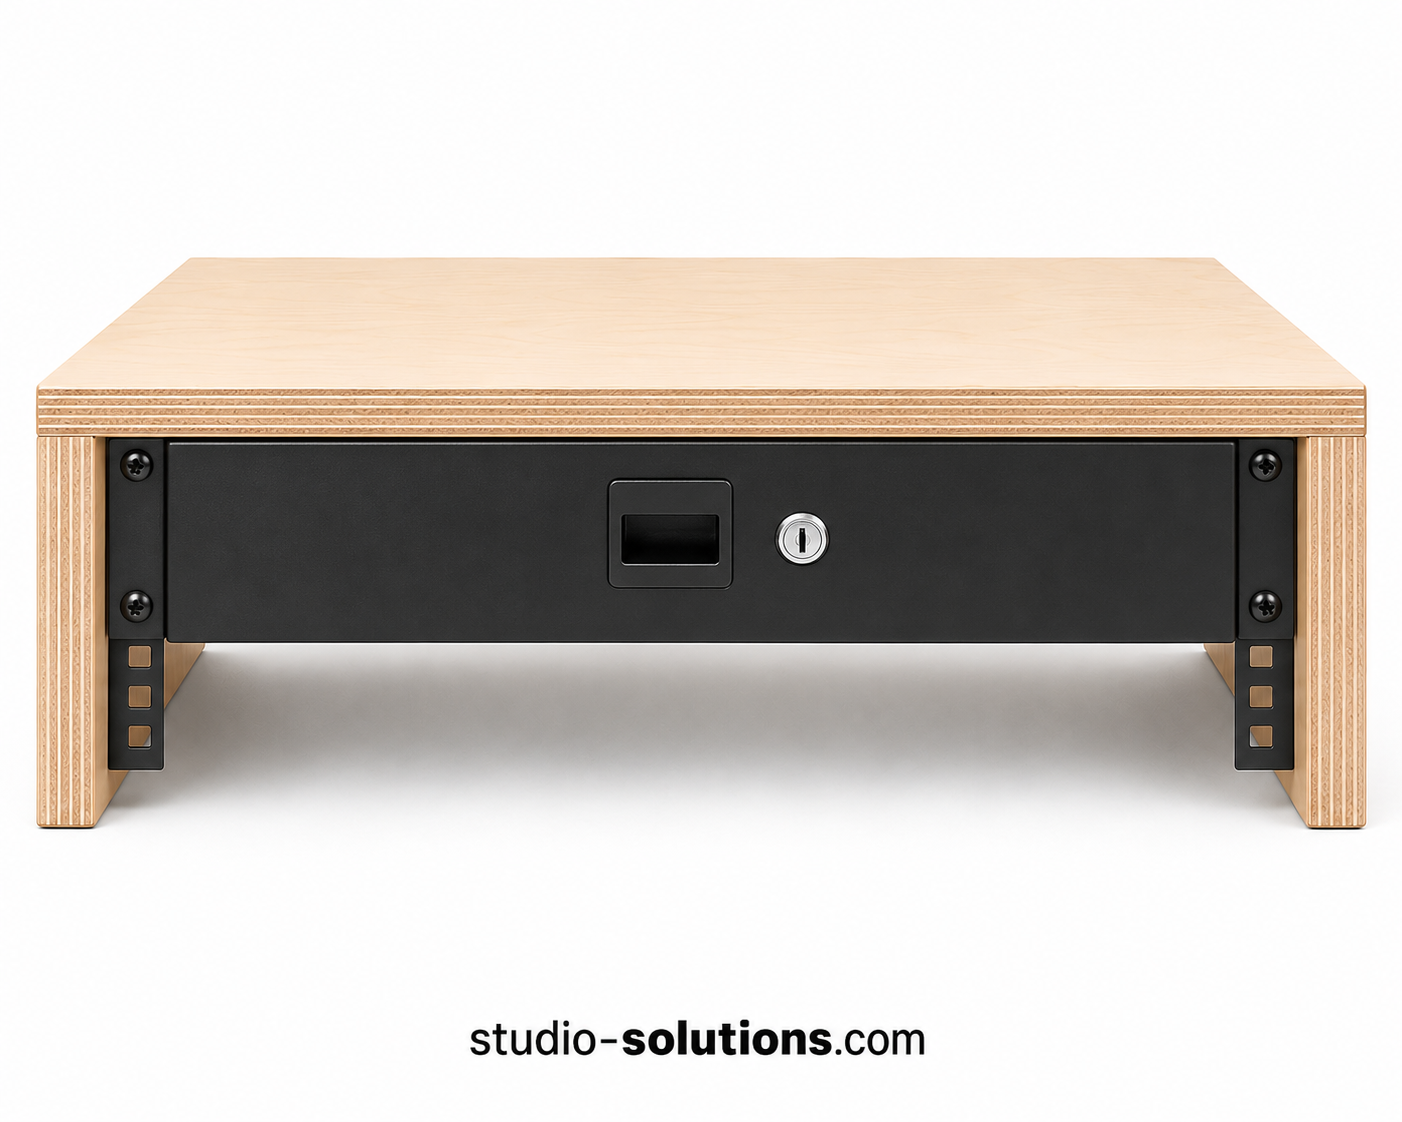
Rack ears and rack mounting
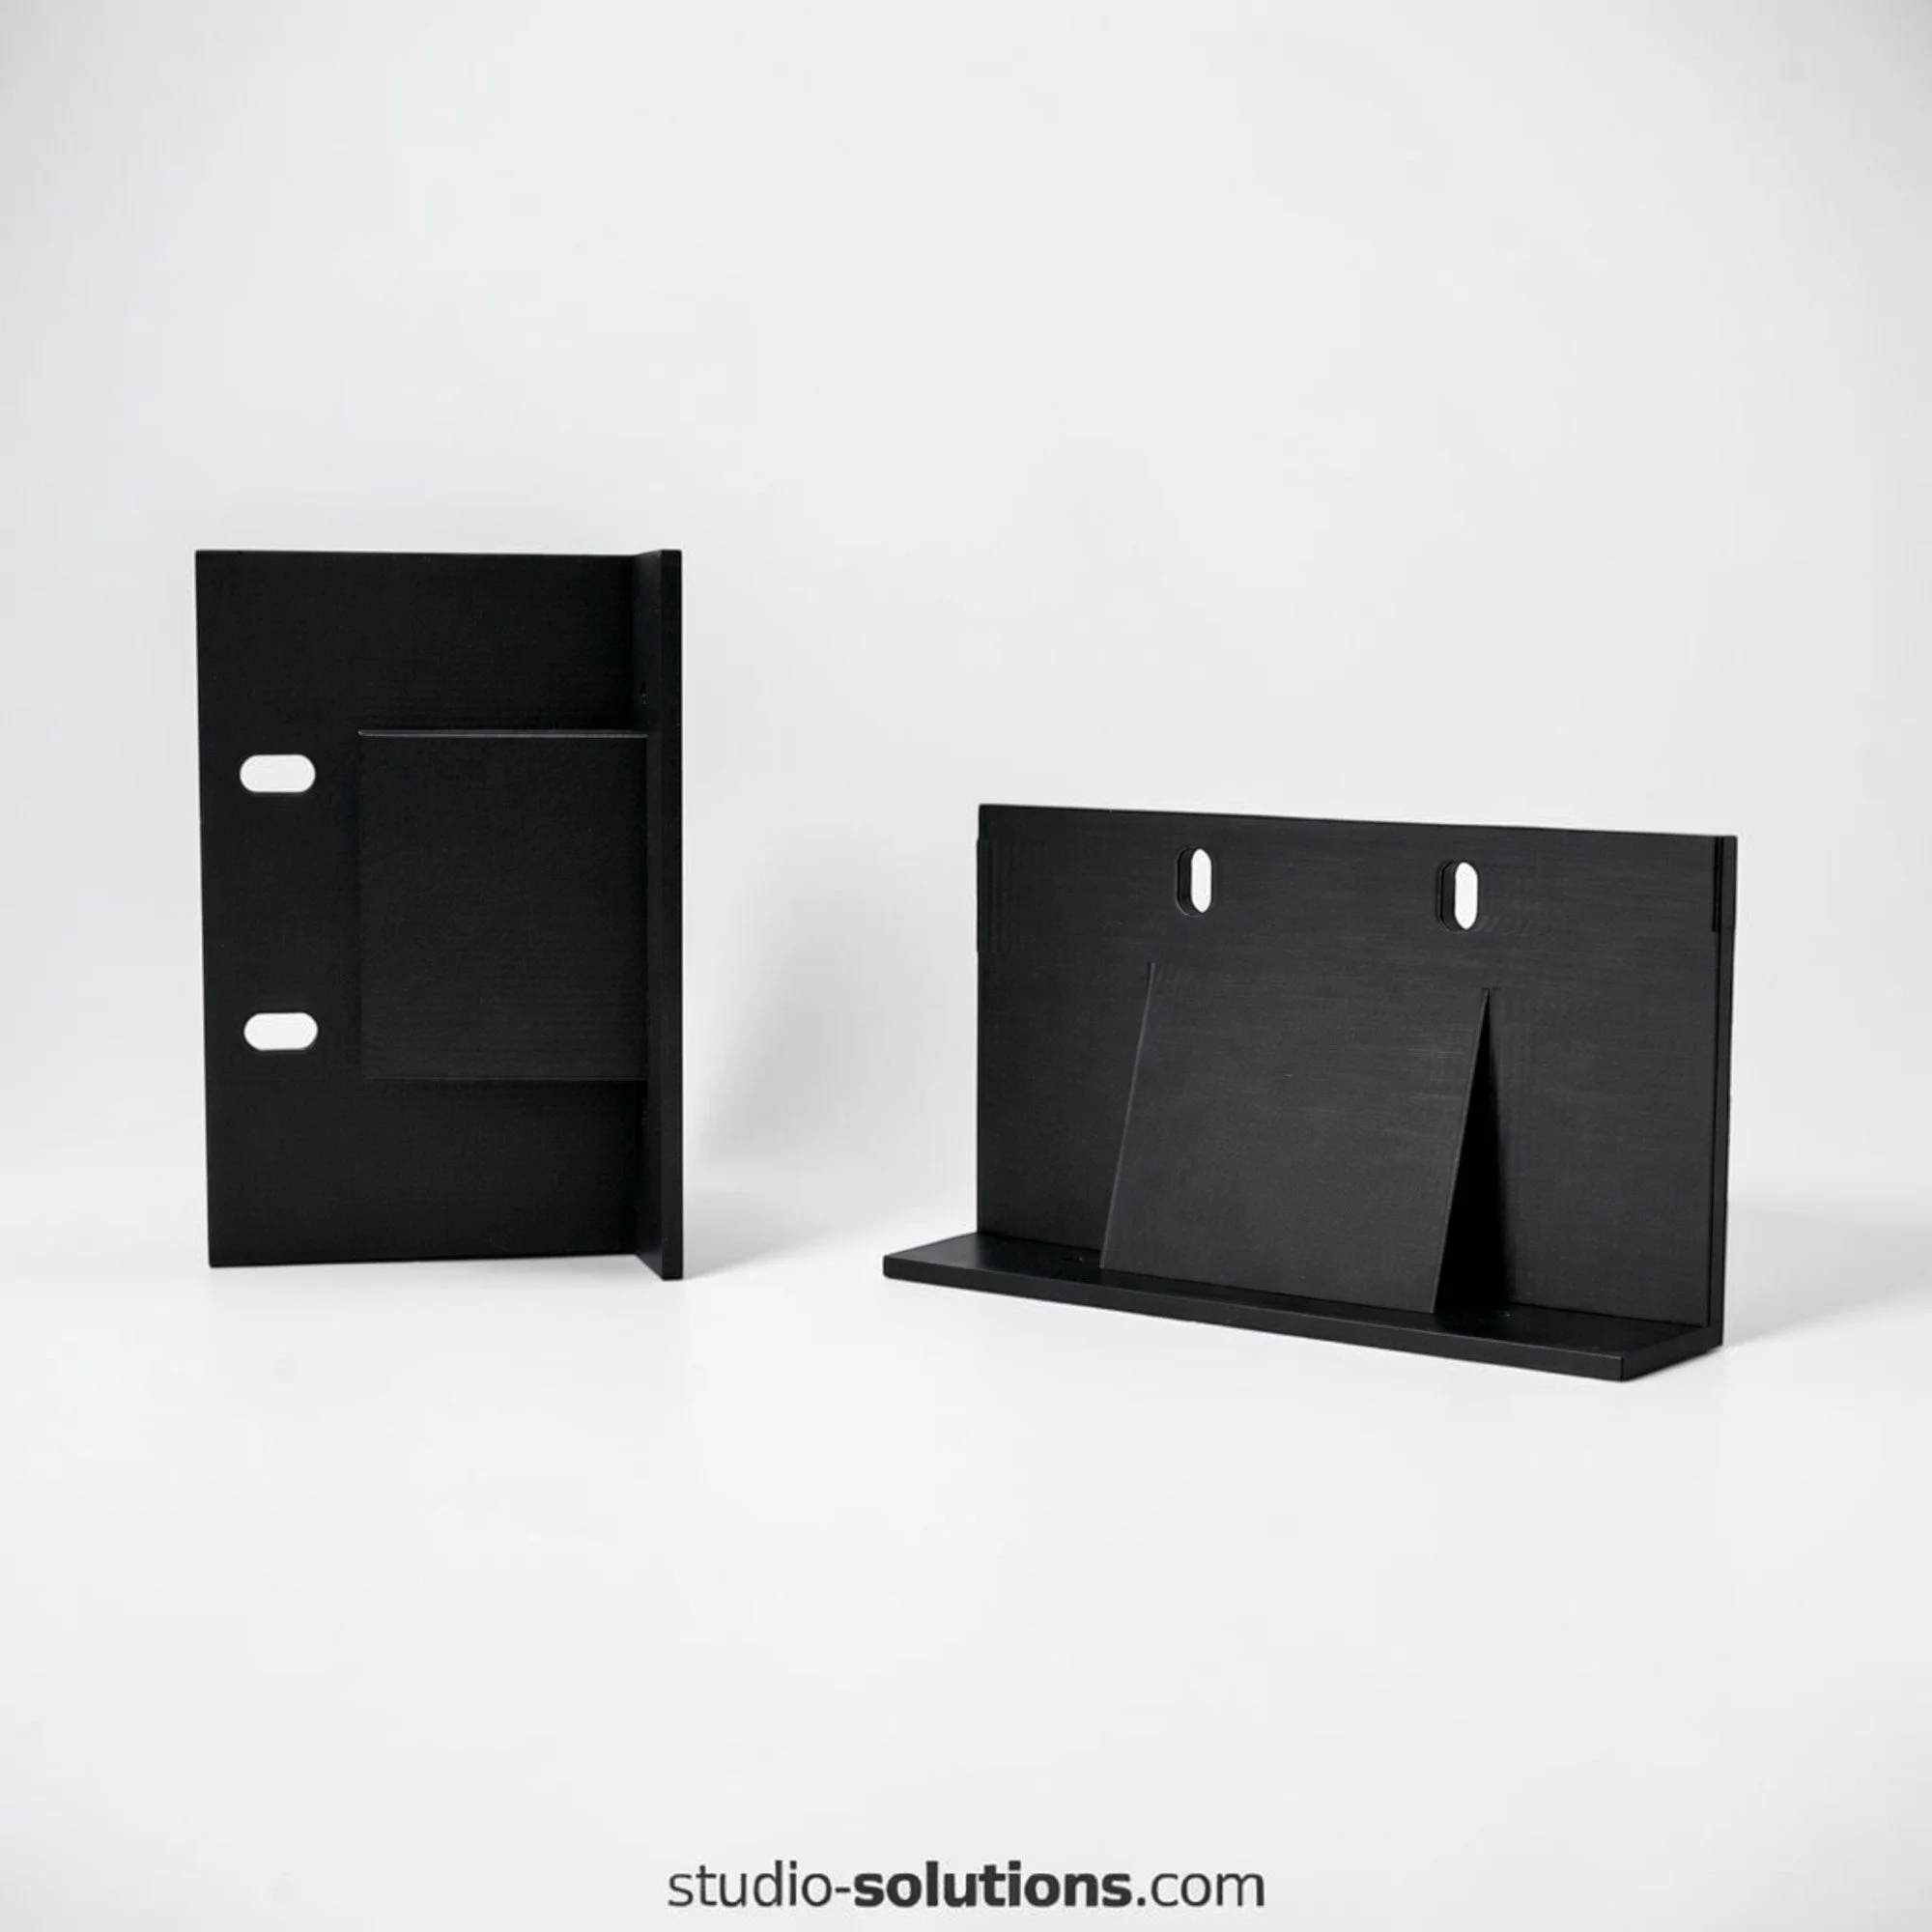
Rack ears allow compatible equipment to be fitted into a standard 19-inch equipment rack.
A rack-mounted solution can free desk space, protect equipment and integrate smaller devices into an existing studio or live rack.
Rack mounting may require us to consider:
The exact width and height of the equipment
Existing side-panel screw positions
Ventilation requirements
Rear cable access
Whether the original feet remain fitted
The rack-unit height available
Equipment with a similar name or appearance may use a different enclosure, so please provide the exact make and model.
Wall-mounted solutions
Wall-mounted equipment arms and brackets can free valuable desk and shelf space while keeping equipment visible and accessible.
Before ordering or requesting a wall-mounted solution, consider the equipment’s dimensions, weight, orientation and cable requirements.
You will also need to identify the construction of the wall and use fixings suitable for that wall type. Plasterboard, brick, blockwork and timber-framed walls each require different fixing methods.
Unless specifically stated in the product description, wall fixings are not supplied.
Studio furniture
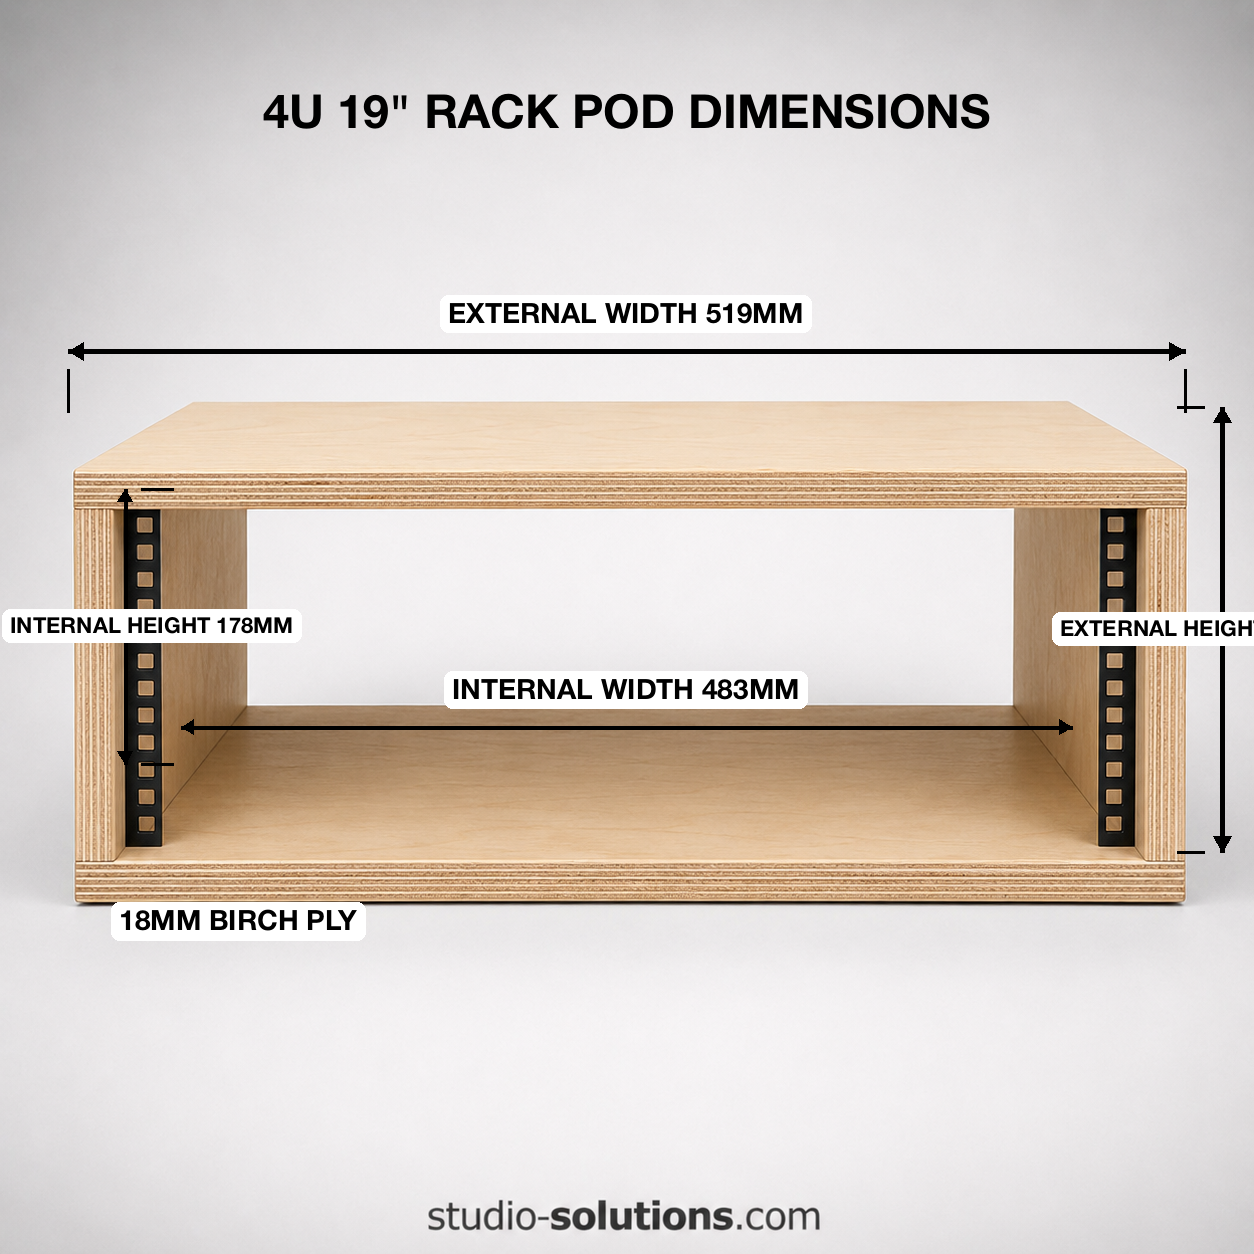
Our studio furniture range includes rack pods, equipment bridges, monitor shelves, desks and other purpose-designed studio installations.
Furniture can be designed around specific mixers, controllers, keyboards, rack equipment and room dimensions.
For furniture enquiries, it is useful to provide:
Room measurements
A complete equipment list
Mixer or controller dimensions
Required rack capacity
Monitor positions
Keyboard shelf requirements
Available knee and seating space
Doorway, stairway and access dimensions
Custom designs
A custom design may be appropriate when:
Your equipment is not currently listed
You need to combine several devices
You require a different angle or height
The equipment has unusual feet, handles or projections
You need to work within a specific space
You require a stand, rack system, wall mount or furniture solution that does not already exist
We regularly design around individual equipment models, complete setups and unusual studio problems.
Choosing the right angle
The best stand angle depends on the depth of the equipment, the position of its controls and where it will sit in relation to you.
Shallow angles
A shallow angle keeps the equipment relatively flat while improving visibility slightly.
This is often suitable for equipment that is played frequently, particularly when it is positioned close to the front of the desk
.
Medium angles
A medium angle improves screen and control visibility without placing the equipment too upright.
This is a popular choice for drum machines, desktop synthesizers, samplers and controllers positioned behind another device.
Steeper angles
A steeper angle can be useful for maximum space saving, equipment placed farther back, on an upper tier or beneath a monitor shelf.
However, equipment may become harder to reach at steeper angles or less suitable for frequent hands-on performance. Rear cables, raised screens and projecting connectors may also require additional space.
Things to consider
Before choosing an angle, check:
Can you comfortably reach the upper controls?
Will the screen remain visible from your normal position?
Will rear cables touch the desk or wall?
Does the equipment have a raised rear panel or screen?
Will another device sit above or below it?
Does the equipment need extra ventilation space?
Will the stand sit beneath a shelf, monitor bridge or rack?
Where several angle options are available, the product photographs and descriptions should help you compare them.
Check out our more in-depth guide on angle suitability.
You are also welcome to contact us if you are unsure which option is most suitable.
Check your available space
A stand may fit the equipment perfectly but still be unsuitable for the space around it.
Before ordering, measure the area where the product will be used.
Check:
Available width
Available depth
Maximum height
Clearance beneath shelves or monitor bridges
Space behind the equipment for cables
Nearby walls or equipment
Access to power switches
Access to memory cards, USB ports or headphone sockets
Ventilation requirements
Comfortable reach while seated or standing
Remember that angled equipment may require more vertical space and sometimes more rear clearance than it does when lying flat.


How to measure your equipment when making custom requests
Please provide measurements in millimetres wherever possible.
Use a rigid ruler, tape measure or digital calliper and measure squarely across the equipment rather than following an angled or curved surface.
Overall width
Measure the widest point from left to right.
Include anything that projects beyond the main casing, such as:
Side panels
Handles
End cheeks
Hinges
Knobs
Sockets
Protective corners
Overall depth
Measure from the furthest point at the front to the furthest point at the rear.
Do not rely only on the flat base dimensions, although the chassis dimensions are the most important to us when considering your design. Include raised screens, rear housings, handles and other projections which may be necessary considerations.
Where cables will remain connected, tell us how far the plugs extend beyond the casing.
Overall height
Measure from the lowest point of the base or feet to the highest point of the equipment.
The highest point may be a screen, knob, encoder, handle or raised section of the enclosure.
Supporting footprint
The outside dimensions do not always show where the equipment can safely be supported.
Please identify the stable supporting area underneath the equipment.
Check for:
Rubber feet
Recessed base sections
Uneven surfaces
Battery covers
Raised screw heads
Ventilation grilles
Curved or angled underside sections
For fitted desktop stands, the position of the supporting feet can be as important as the overall width and depth.
Feet and underside measurements
Where possible, provide:
Number of feet
Foot diameter or dimensions
Distance between the feet
Distance from each foot to the outer edge
Height of the feet
Photographs of the complete underside
Please do not remove feet unless the proposed design specifically requires it.
Cable clearance
Photograph the rear of the equipment with the normal cables connected.
Straight plugs, right-angle plugs and bulky power connectors can require very different amounts of space.
Include:
Power cables
Audio cables
MIDI cables
USB cables
Network cables
Pedal connections
Antennas or wireless adaptors
If a connector points downward or sideways, show that clearly in the photographs.
Photographs to send
Clear photographs help us understand details that measurements alone may miss.
For custom work, please send photographs showing:
The front
The rear
The left side
The right side
The complete underside
The feet and supporting areas
Cable connections
Screens, handles or raised sections
Ventilation openings
Any unusual curves, slopes or projections
Where useful, include a ruler or tape measure in the photograph.
Photographs should be taken squarely rather than from a steep angle, as perspective can make dimensions difficult to judge.
For multi-device setups, also send a photograph or simple sketch showing how you would like the equipment arranged.
For studio furniture enquiries, photographs of the room and proposed working position are extremely useful.
Measuring for tiered stands
For each piece of equipment, provide:
Exact make and model
Width, depth and height
Foot position
Rear cable requirements
Screen position
Controls that must remain accessible
Also tell us:
Which device should sit on each tier
Whether the equipment needs to remain removable
Your preferred overall arrangement
Any maximum width or height
Whether you work seated or standing
Whether the stand must fit beneath a shelf or monitor
Measuring for rack ears
For rack-mounting enquiries, provide:
Exact make and model
Overall width and height
Clear side photographs
Existing side screw positions
Distance between mounting holes
Screw size, where known
Required rack-unit height
Whether the original feet should remain fitted
Rear connector clearance
Ventilation requirements
Please do not assume that screws in the side of an enclosure are suitable mounting points. We will assess the available information before recommending a design.
Measuring for wall-mounted equipment
Please provide:
Exact make and model
Width, depth and height
Equipment weight
Desired orientation
Cable requirements
Available wall width and height
Details of nearby shelves, sockets or obstructions
Wall construction, where known
The person installing the product is responsible for selecting suitable wall fixings and confirming that the wall can safely support the equipment.
Measuring for studio furniture
For custom desks, rack pods, equipment bridges and larger furniture, provide as much of the following as possible:
Room width and depth
Ceiling height where relevant
Desk or working-area dimensions
Mixer or controller make and model
Keyboard dimensions
Required rack-unit capacity
Monitor dimensions and spacing
Preferred working height
Knee clearance
Seating position
Cable-routing requirements
Doorway and stairway access
Maximum size that can be brought into the room
A rough sketch does not need to be professionally drawn. A clear hand-drawn plan with measurements can be extremely useful.
Common measuring mistakes
The most common problems are caused by small details being missed.
Please avoid:
Using manufacturer dimensions without checking the physical equipment
Forgetting to include rubber feet
Measuring only the main casing
Ignoring raised screens or handles
Forgetting rear plugs and cable clearance
Measuring diagonally instead of squarely
Mixing millimetres and inches
Assuming related models share the same enclosure
Ignoring ventilation requirements
Forgetting shelves, walls or nearby equipment
Measuring the available desk space without checking comfortable reach
Checking these details before ordering can prevent delays, redesign work and unsuitable product choices.
Ready to find the right solution?
If your equipment is already included in our range, search using the exact make and model or browse our products by brand and category.
If you need a different size, angle, configuration or completely bespoke design, visit our Custom Stand Request page and send us your measurements, photographs and a description of what you would like to achieve.
We design around real equipment, real studios and real workflow problems. The more useful information you can provide, the more accurately we can develop the right solution.
whenever necessary, we’re always available to answer any questions.